You might be familiar with configuring AWS CLI on your Linux machine. Similarly, we can configure gcloud cli in our Linux machine and run gcloud command against our Google cloud to create and manage services.
In this demo, I will install gcloud CLI on my local Ubuntu 22 machine and authenticate it with my test project.
Working of gcloud cli
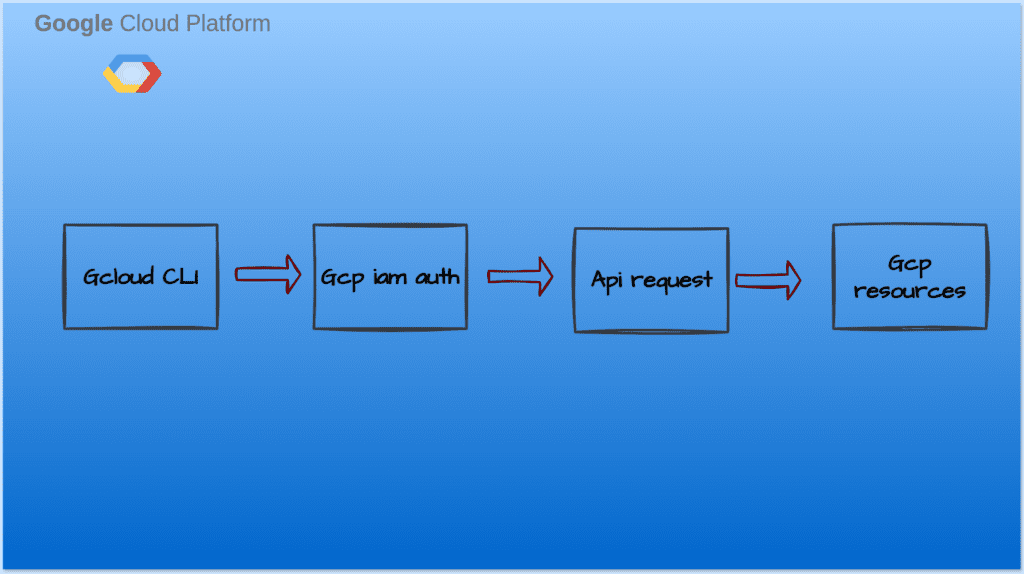
When a user runs a command example gcloud compute instances list, gcloud retrieves stored credentials to obtain an access token.
GCP then checks IAM policies to ensure the user has the necessary compute.instances.list permission.
If authorized, gcloud sends an authenticated HTTP GET request to the Compute Engine API.
The API processes this request and returns a list of instances, which gcloud then formats and displays in the terminal

Prerequisite:
- You must have a Google Cloud account.
- You must have sudo access to your machine.
The gcloud CLI is available in package format for installation on Debian and Ubuntu systems. This package contains the gcloud, gcloud alpha, gcloud beta, gsutil, and bq commands only. It doesn’t include kubectl or the App Engine extensions required to deploy an application using gcloud commands.
Step1: Update the packages
sudo apt-get updateStep 2: Make sure it has curl and apt-transport-https installed.
sudo apt-get install apt-transport-https ca-certificates gnupg curlStep 3: Import the Google Cloud public key.
curl https://packages.cloud.google.com/apt/doc/apt-key.gpg | sudo gpg --dearmor -o /usr/share/keyrings/cloud.google.gpgStep 4: Add the gcloud CLI distribution URI as a package source.
echo "deb [signed-by=/usr/share/keyrings/cloud.google.gpg] https://packages.cloud.google.com/apt cloud-sdk main" | sudo tee -a /etc/apt/sources.list.d/google-cloud-sdk.listStep 5: Update and install the gcloud CLI:
sudo apt-get update && sudo apt-get install google-cloud-cliStep 6: Authenticating with our GCP project.
sudo gcloud init
This will proceed to a login page where you can log in to your Google Cloud account and select the project.
A temporary URL will be generated on the terminal where you can copy and access it on the browser as shown in the screenshot below

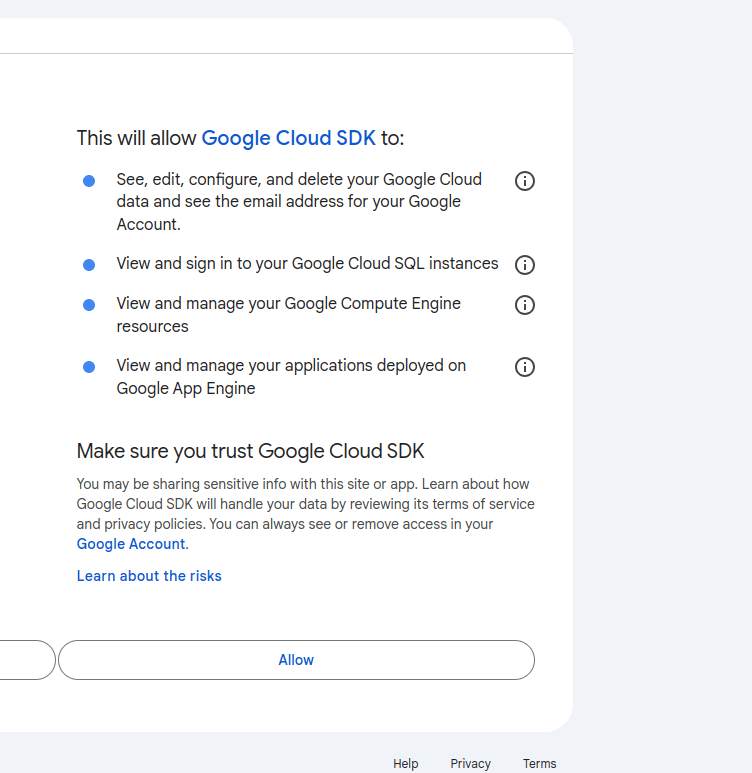
Your browser will ask to allow access to Google Cloud SDK as shown below you can allow the permissions.

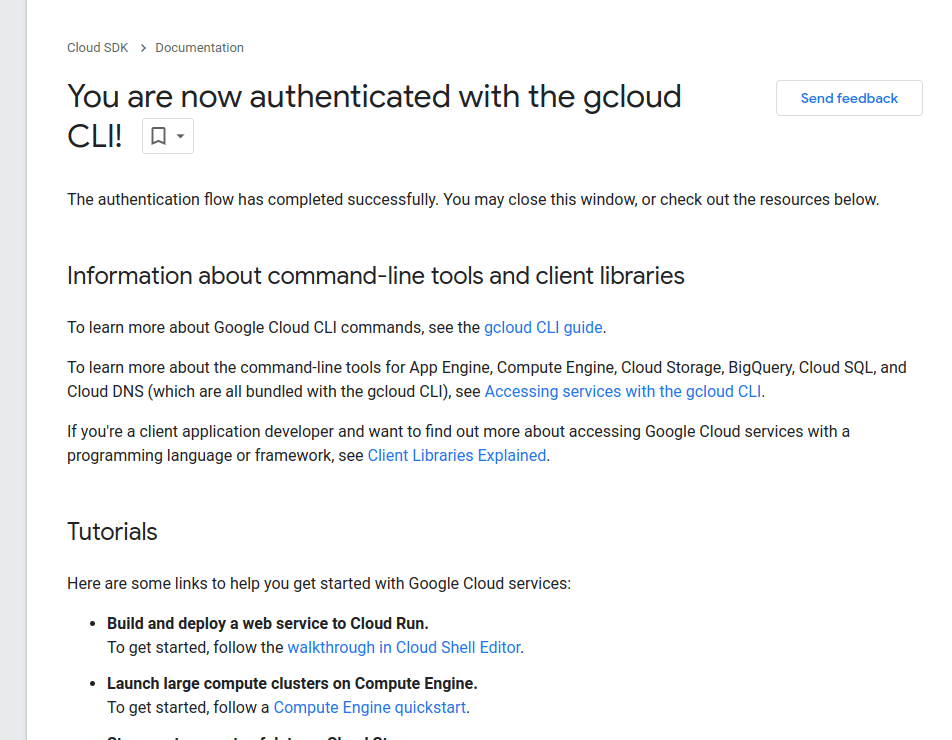
After that, a successful message will be shown on your screen as shown below mentioning that you have successfully authenticated with gcloud CLI.

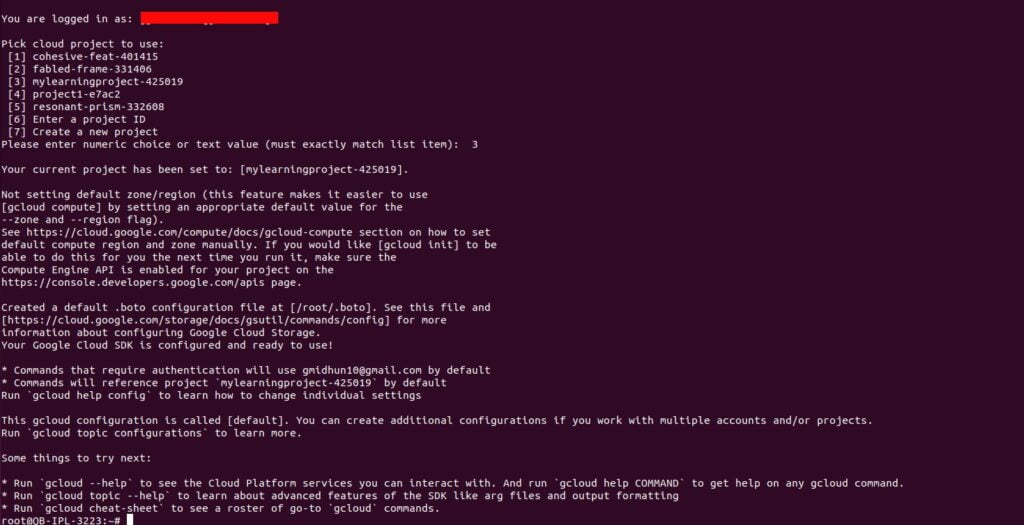
Now if you come back to your terminal you will be able to see your Google Cloud projects listed as shown below.

You can select your working project and run gcloud command to create and manage resources.
Summary:
In this article we have learned how to install gcloud cli on your local machine and authenticate with your Google Cloud project.


